Connecting a WordPress site
Install the Ts-Immo Sync plugin and link your site to your gateway, with no technical fiddling.
To publish your properties on a WordPress site, Ts-Immo uses a free plugin: Ts-Immo Sync. Once installed and linked to your gateway, it receives the properties and creates the pages on your site.
Two paths, one result
| Where you start | What happens |
|---|---|
| From your WordPress site — you install the plugin first, then click "Connect to Ts-Immo" in its settings. | You land on Ts-Immo with your site address already known. You create your account and gateway, and the connection completes on its own at the end. |
| From the Ts-Immo dashboard — you create your gateway first. | After payment, a wizard takes you through installing the plugin on your site and linking it to the gateway. |
The installation wizard, step by step
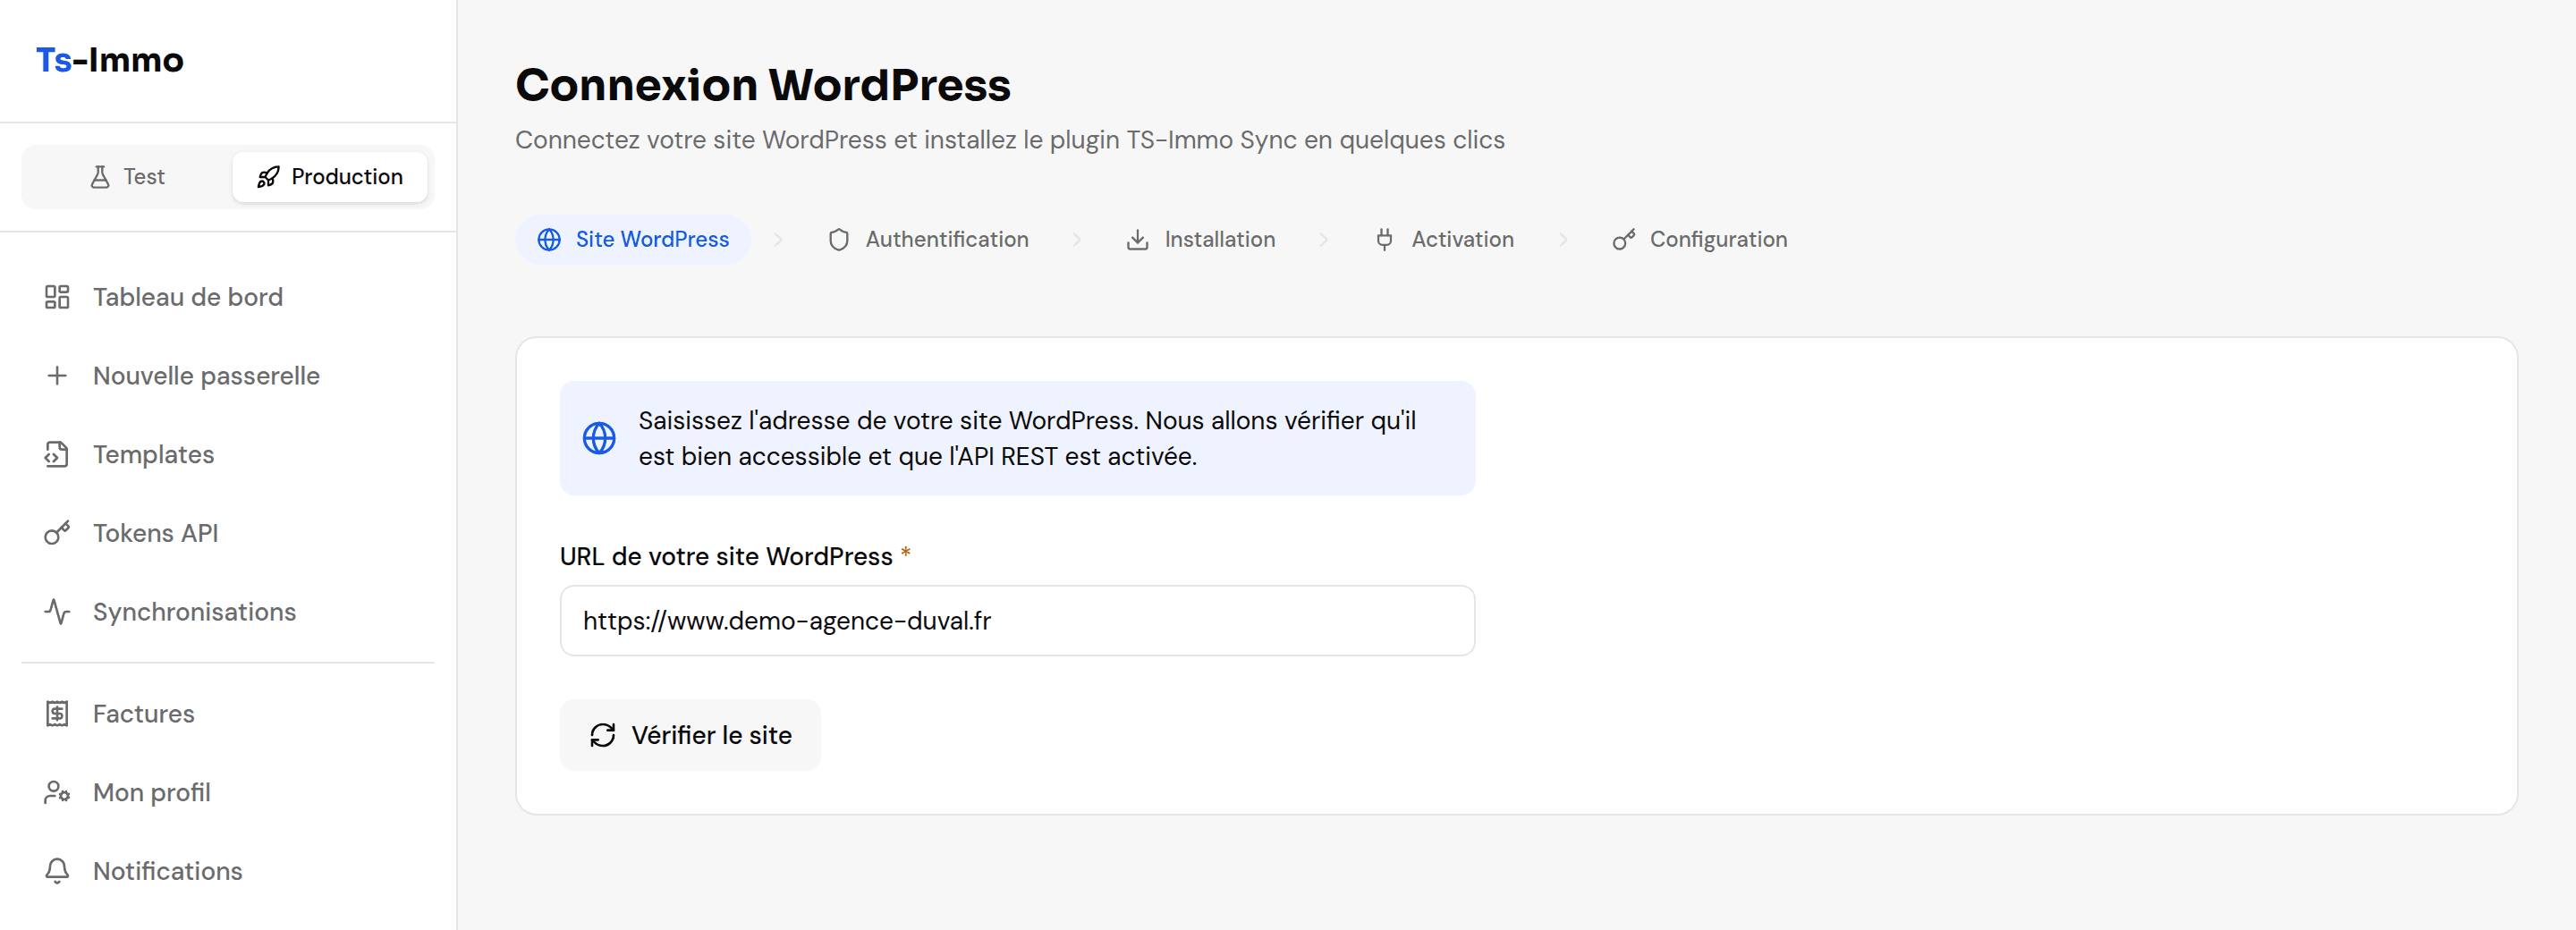
- 1
WordPress site
Ts-Immo checks the address is a reachable WordPress site. When detection fails it is almost always a mistyped address (an extra or missing
www) or a password-protected site. - 2
Authentication
WordPress asks you to authorize Ts-Immo to install the plugin. You sign in to your site as usual and click Approve: the application credentials come back to Ts-Immo automatically.
- 3
Installation
The plugin is downloaded from WordPress.org and installed. If it is already there, the wizard detects it and moves on.
- 4
Activation
One click. The plugin becomes active on your site.
- 5
Configuration
Ts-Immo generates the connection key and hands it to the plugin. At the end of this step the gateway and the site talk to each other: the first sync can run.
Once the site is linked
- Properties arrive on your site as WordPress content. Their layout depends on your theme and your template — that is the topic of the next section.
- Do not edit the listings directly in WordPress: the next sync overwrites your changes. Always fix things in your listing software.
- A property removed from your software is unpublished from the site at the next sync.